


Thank You Daniela, it's a pleasure to be contributing to such a creative site.
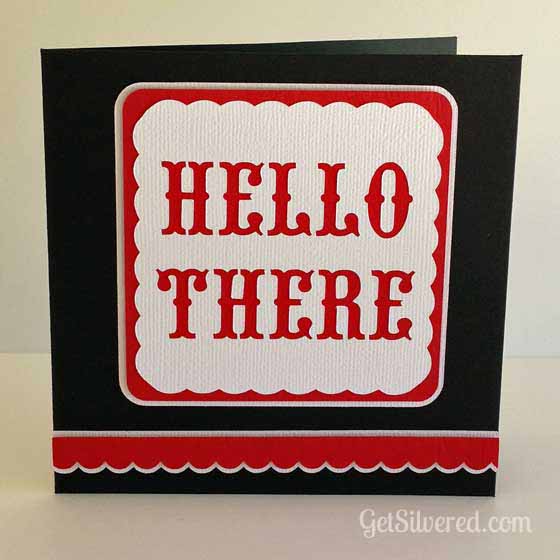
I'm sharing a Cutting File and instructions to make this cute card with a Silhouette Cutting Machine. It's perfect for many occasions and best of all - it's quick and easy.
Supplies:
3 Colours of Card stock | Silhouette Studio File >> Free Download here | Double Sided Tape | Double Sided Foam Tape & Squares | Glue Pen | Scissors | Silhouette Cutting Machine | Patterned Paper (optional) |

- Download & open the free file in the Silhouette Studio Software
- First cut the card base: Load the Black Cardstock onto the cutting mat and into the Silhouette, then adjust the Cut settings in Silhouette Studio to correspond with the thickness of cardstock being used.
- The files are laid out as in the screenshot below. Ungroup & move the other shapes off the Virtual Mat on the computer screen, leaving only the card base and select ìsend to Silhouetteî

- Repeat again to cut out the Scalloped Borders, Squares and Text overlay with the contrasting cardstocks. Refer to the colour guide on the file (see screenshot above) & change cardstock on the real cutting mat and move the various shapes on or off the virtual cutting mat as needed.
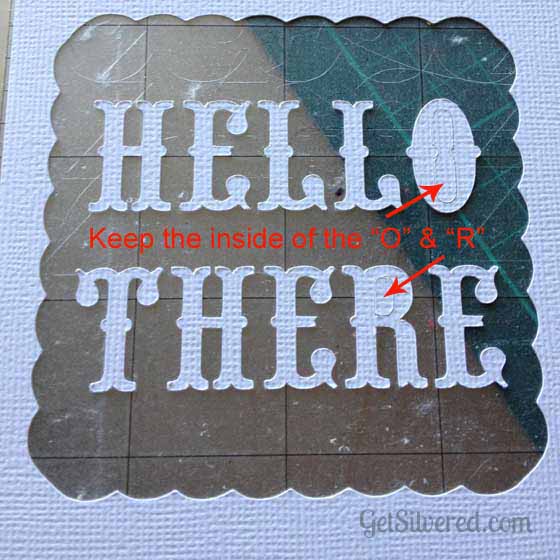
- When removing the text panel from the cutting mat, keep the cut outs from the centre of "O" & "R" as theyíll be needed later. You may be able to save the letters for another project too.
Assemble the card:
- First, attach the White Text overlay to the Red backing Square. Use Double sided tape on the back over the solid areas and a glue pen around the intricate cut out sections near the letter cutouts.

- Now fix the combined layers to the large white backing square with Double sided foam tape. Apply the little foam squares (or foam tape cut to size) to the back of the red scalloped border and attach that on top of the larger white scallop. Using the foam tape gives dimensional interest to the card.

- Carefully position and attach the assembled panels and scallops onto the Card base with Glue or Double Sided Tape. Attach the middle pieces (if you haven't already done so) of the "O" & the "R" that you saved earlier.

Options:
- You can really change the style depending on the materials used. I love the Red, Black and White colour theme, but just for something different I made another version too. This time I used a patterned paper instead of a contrast card, and added an extra scalloped border.

- I didnít have any card or paper in a wood grain pattern so I attached contact paper to a piece of plain cardstock and then cut it all together using the heavy cardstock settings in the program.
- The cards are blank inside, but you could add an extra panel with a printed greeting or add a cut out sentiment or a sketch pen greeting. If sketching or printing, do it before you cut out the card base.
- You can add extra design elements inside too ñ I added a scalloped border & a heart to the inside of the Kraft card to pretty it up!

Next week, Daniela will be contributing over at Get Silvered. I'm really looking forward to her awesome Home Decor project. Be sure to look out for it!

*****************************
Thanks, Pam! I asked Pam to do a card project, because I don't tap into card making & paper crafting as much as I would like to. I love seeing all the intricate layouts that scrapbookers do. I definitely want to get into making homemade cards, since I have a Silhouette Cameo.
Here are some of my fave posts from Get Silvered:

**EEEK! This idea is total #swoon

What is your favorite thing to make with a cutting machine? I love hearing all the different things people create! Have a great day!
xo

Let's be photo junkies together >> Instagram @putabirdonitblog

No comments:
Post a Comment
Thanks for the chat!