{be sure to visit the blogs to get all the details on how to complete the gift idea!}
Search This Blog
Showing posts with label gift ideas. Show all posts
Wednesday, May 7, 2014
Wednesday Roundup ... 10 Mother's Day Free Printables + Gift Ideas |
Today's Wednesday Roundup is just in time for Mother's Day - which is on Sunday - in case you forgot! ;) Shower mom with LOVE this weekend ... or grandma ... or an aunt ... or a bestie ... there are mothers all around us we can uplift and show we care. I have 10 ideas for gifts that include free printables, which makes them simple & easy! You don't need to spend a fortune -- sometimes a simple, hand written note is all it takes to tug on someone's heart strings. I hope these ideas inspire you to share some motherly love this Sunday. Take care!
Labels:
gift ideas,
holidays,
printables,
Wednesday Roundup
Friday, April 11, 2014
DIY Initials Etched Mug *Gift Idea* ... Guest Post by Sarah of Creative Ramblings |
Hey I’m Sarah and I blog over at Creative Ramblings. I’m excited to be here sharing a fun gift I created using my Silhouette. If you like what you see stop by and join me on my creative journey.
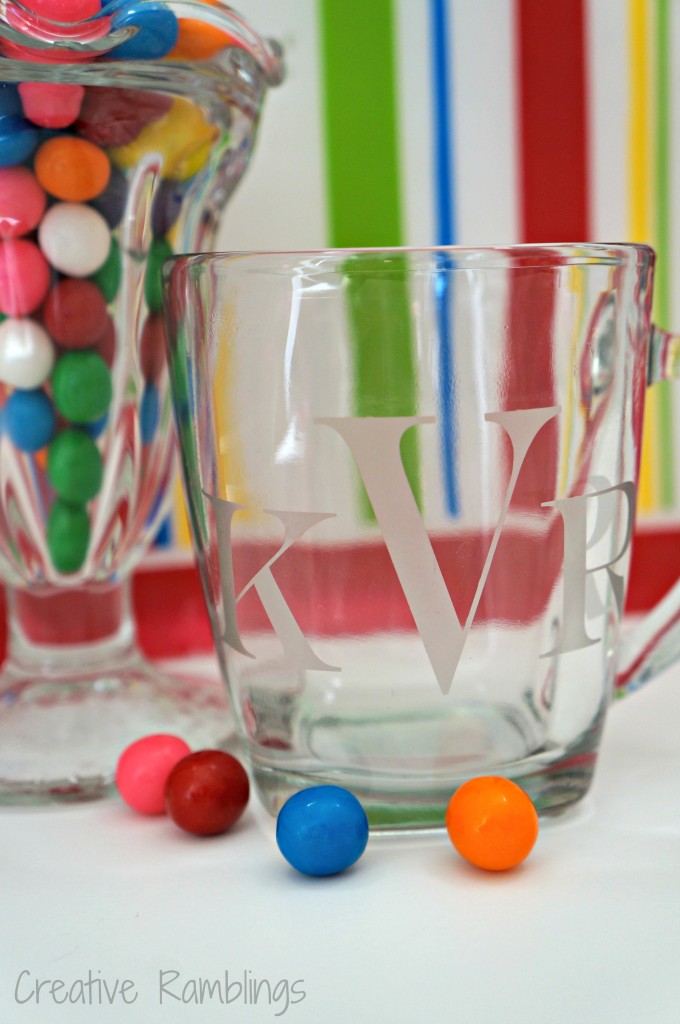
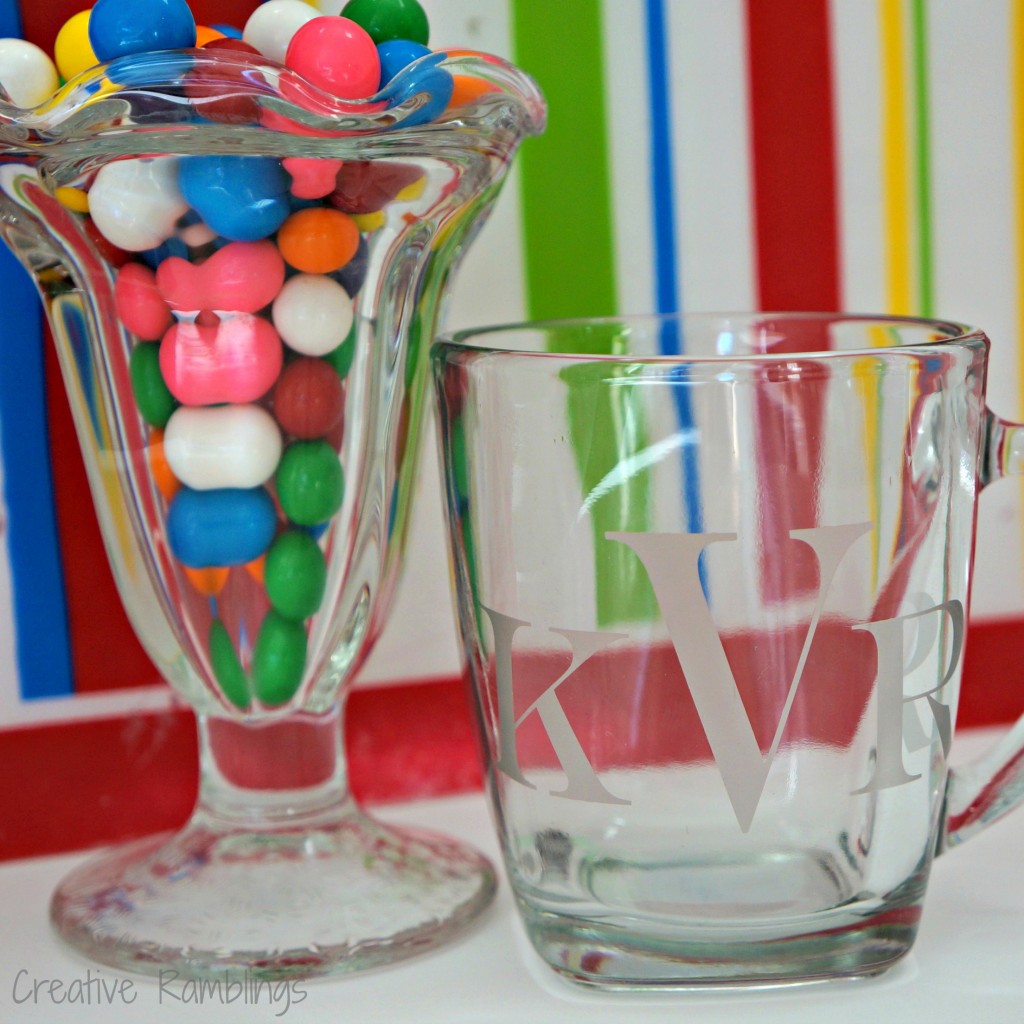
Earlier this year Little Lady and I were searching for the perfect gift for Daddy. She had 2 things in mind 1) he likes coffee and 2) he likes gum balls. Her original thought was to go to the mall and buy him a cup of coffee along with some gourmet gum balls from the candy store. Before we made that trip she spotted a bag of gum balls at Target and we happened upon a clear glass mug on clearance. Perfect gift for Daddy!
To dress the gift up a bit I decided to etch Daddy's initials into the mug using my Silhouette. Not really a project a 3-year-old can help with, but she did help in picking out the font and of course filling the mug with gum balls.
When I bought my Silhouette last year the glass etching kit was included! It wasn't something I needed, but I have used it several times and love it.
Labels:
etching creme,
gift ideas,
guest post
Wednesday, March 26, 2014
Hand Painted Burlap Coasters |
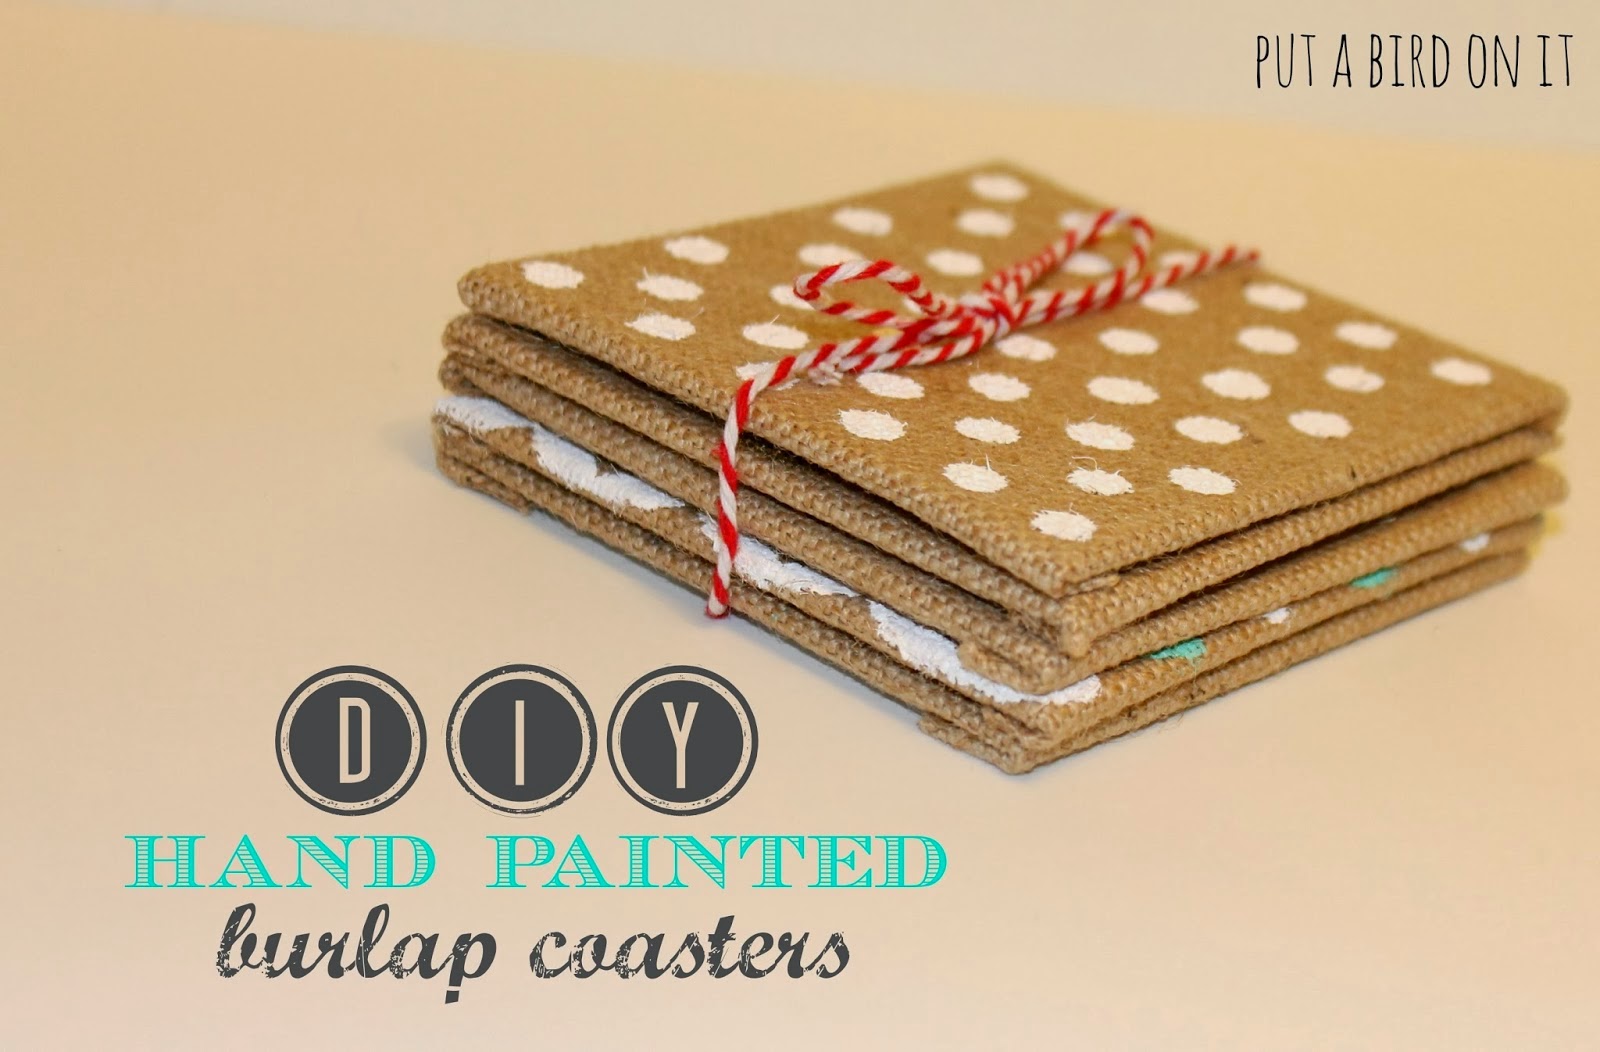
Happy Wednesday! Today, I'm sharing a project I originally guest posted on Newly Mynted. I just LOVE burlap and found these burlap squares at Michael's for pretty cheap. My mind immediately went to "COASTERS!" These were fun to make - you can use any color of paint and customize them however you want. They'd be adorable as a personalized wedding gift or housewarming gift, too.
Supplies
Burlap squares
Acrylic paint
Foam pouncers | Q-tips | Foam brush {whatever you want!}
Acrylic sealer {not pictured}
This is the fun part! Decorate your coasters however you please. You can use a stencil, but I just painted by hand my designs. I think using a vinyl stencil in the future would be fun.
Labels:
burlap,
crafts,
DIY,
gift ideas,
paint
Monday, March 3, 2014
DIY His & Hers Sharpie Mugs |
This week is different than a normal week here at Put A Bird On It. Saturday, March 8, is my anniversary! 6 years! What an incredible 6 years it has been.
![]() |
| Salt Lake LDS Temple |
Because I love LOVE so much {I really do - I did a giveaway dedicated to it!} - everything this week will be about LOVE and MARRIAGE! Including a special post about my marriage on Friday. I've never done a "theme" week, so I'm excited to do something new.
To start off Marriage Week, I have an awesome {and duh EASY} tutorial for you that is ALL about a HIS and a HER. I had so much fun seeing how much everyone loved my West Elm Inspired Sharpie Mugs that I wanted to make another version. I created a funky set of His & Hers Sharpie Mugs. Snuggle up by the fire, put on your favorite Star Wars movie and sip some hot cocoa with these duo mugs.
One of my very first memories of being married was our first morning in our home. I made us breakfast! Ha ha, those were "the days" ... me cooking ... but, really, I did. All I can remember is that toast was involved. But we sat, just the two of us, at our little yellow hand-me-down table, with our green IKEA dishes, in our 1920 little yellow house, and we ate breakfast together. It's one of our favorite memories. And I sure wish we'd had these mugs at that breakfast. How fun would that have been?!
the how-to
Labels:
crafts,
DIY,
gift ideas,
marriage,
super easy
Tuesday, February 4, 2014
DIY Monogram Business Card Holder ... Guest Post by Stephanie of Newly Mynted |
Hello Bird readers!
What a joy to be trading spaces with Daniela today. When you're done here, head over to NewlyMynted to see what she's got for you. It's like Two for the Price of One awesomeness!
With Valentines Day just around the corner, many of us are trying to decide what to get our significant others. For me, this is a real challenge. My honey, Logan, is a computer technician, so getting him anything related to computers is out of the question. I know how to use mine, but don't ask me about the mechanics behind it. He does, however, love it when I make him things! And if there's one thing men certainly appreciate, it's a practical gift. With that, it became a question of what gift DIY gift for men could I create? Recently Logan was promoted to management and received business cards with his name on them. Yeah, I'm a little proud of him!
Supplies:
Leather or other fabric
Pelon fusible interfacing
Sewing machine
Sizzix Big Shot & embossing folder (optional)
Computer
Xacto knife
Martha Stewart acrylic paints: Wedding Cake and Gold
Sponge brush
Fine tip paintbrush
Cut your main fabric and interfacing as follows:
Main 4" x 4 3/4"
Pockets (x2) 4" x 2 1/4"
NOTE: FITS STANDARD 3.5" X 2" SIZE BUSINESS CARDS
Trim your interfacing down 1/4" on all pieces and iron onto the back of each of piece of fabric. You can ignore my coffee stains. Being an avid DIY'er and coffee drinker has its set backs.
This is where things get exciting. Logan got me this pretty little number for Christmas, and imagine my surprise when I found out you can emboss fabric. You heard me right, You Can Emboss Fabric! Yes I squealed! To keep this masculine, I went with a simple quarter foil embossing folder I picked up at Michael's. Run it through according to your machine's directions, and revel in the sheer awesomeness of this discovery. Is that not one of the neatest things you've done in all your crafty days?!
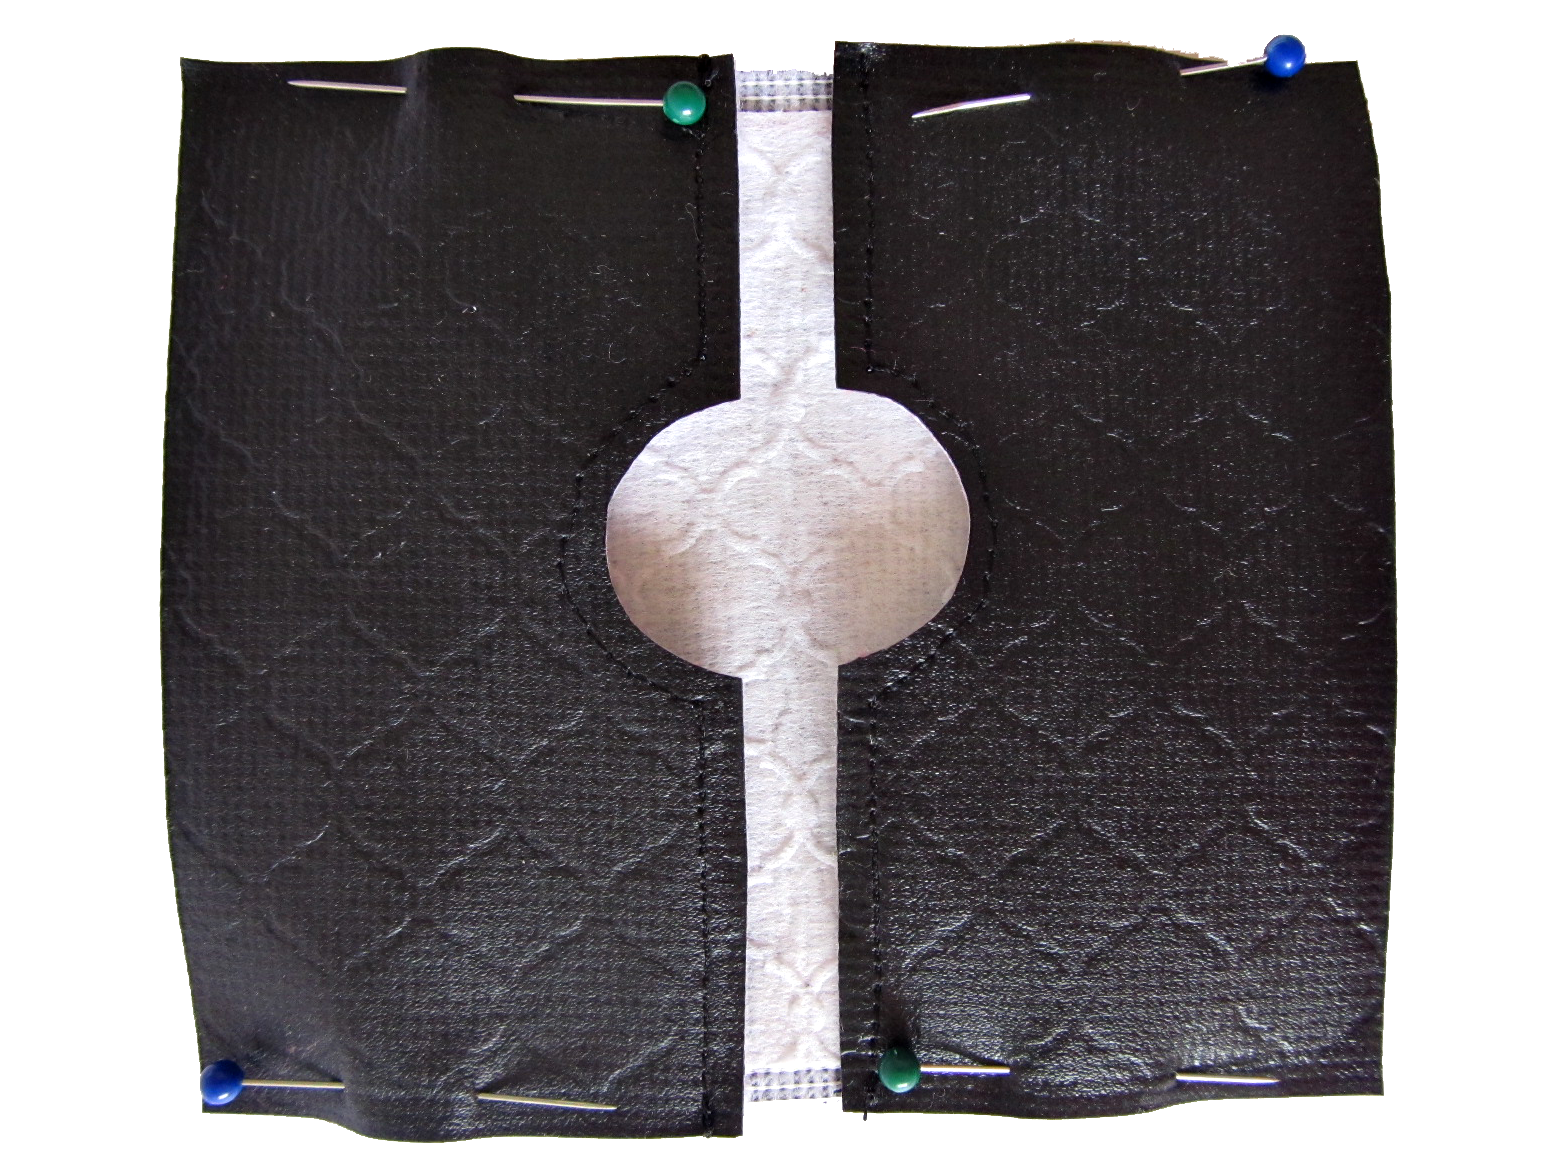
Using a quarter (or other small round object), trace a half circle and cut it out of each of your pockets. This will create a little thumb hole to make it easy to pull a card out. My advice, though, be smart and measure the center of your pockets. I did it the lazy way and eyeballed it, and my cut-outs didn't come out centered. Oh well. There is no room for perfection in creativity, am I right?
With a long straight stitch, sew across the top of each pocket first with a 1/4" seam. Since this is a leather fabric that won't fray I left my seams exposed.
Pin the pockets to the main fabric wrong sides together and sew around all four sides, also with a 1/4" seam.
Open a Word document and select what monogram font you want. I used Go to the Sky, but here is a great selection of many more. Make sure your document's zoom is set at 100% so you can get an exact size of what it will look like when you print it out. Mine was 1 1/4". Once it's printed, use your Xacto knife and cut away the negative space.
Tape the stencil you just made to the front of the card holder and paint. Be sure to dab only in up and down motions. If you turn your sponge to the side, paint will get shoved underneath and your lines will become uneven. Two coats is best, but if you're like me and lack the patience to wait an hour between coats, break out your hair dryer. It's a multipurpose tool!
With your fine tip paintbrush, line your letters in white and dry again. And that's all. In an hour you now have a custom Valentine's gift for him. I can't wait for the 14th to come around to give him this. Last year I made him a leather Bible cover and he adores it. It brings him so much joy to show off the things I take the time to make for him.
Thanks for having me, Daniela! I would love to hear from each of you:
*********************************
Ok - are you as impressed with Stephanie's tutorial as I am? Who wouldn't enjoy receiving that gift? I hope my husband doesn't read this -- he will be super jealous, ha ha. Thanks to Stephanie for visiting! Like she mentioned earlier, I am over at Newly Mynted sharing a tutorial for DIY Coasters, but not the typical photo or tile kinds. Be sure to head over there {click here!} to see what I used to make my hand painted ones {spoiler alert: it might include a lot of burlap!}.
xo
Enter the fab giveaways I'm currently hosting!
You can follow my Pinterest boards here:
Labels:
DIY,
embossing,
fabric paint,
For Him,
gift ideas,
guest post,
sewing
Tuesday, January 7, 2014
DIY Burlap & Polka Dot Canvas {quote & photo display} |
Hey y'all! A couple months ago, I guest posted on Best Day Ever. I shared my Burlap & Polka Dot Canvas ... a cute way to display your favorite quotes and photos. I realized I hadn't yet shared it here on my own blog! So today's post is the tutorial for making your own Burlap & Polka Dot Canvas. Enjoy!
This quote display is super versatile! You can easily switch it up for each season by adding a festive quote.
Printables by A Step in the Journey and Simply Kierste
the how-to
What You Need
10x10 Burlap Canvas {Mine's from Walmart ($8!)}
Circle Foam Pouncer
Acrylic Paint in your choice of color
Clip
Glue Gun
sawtooth hanger, if you want to hang it
The Fun Part
There are only two steps.
1} Using the foam pouncer size you love the most, daub on your polka dots {use an up-and-down motion}.
2} After it is dry, hot glue your clip to the front of your canvas.
*The End*
Ok, there is a 3rd step. If you want to hang your display, attach a mini sawtooth hanger to the back. I got mine from Target for $1. It looks like this:
This is quite possibly the easiest craft I've ever done. I love displaying quotes in my home. I have pinned SO MANY. You can follow me on Pinterest HERE if you need some inspiration! Free printables are all over!
Want to download my favorite quote? I've created a FREE PRINTABLE of the quote shown in the photo, from President Thomas S. Monson - The Prophet of The Church of Jesus Christ of Latter-Day Saints.
xo
******************************************
You may also enjoy
Labels:
burlap,
DIY,
gift ideas,
inspiration,
LDS
Tuesday, December 31, 2013
New Year's Eve "Midnight Kisses" |
Happy New Year's Eve!
Are you ready to get your party on? We are celebrating with friends and can't wait to ring in the new year. 2013 has been a BIG one for me. Mainly, being a mom to a now 1-year old baby girl. It has been a complete life adjustment going from full time working wife to full time home with baby mom. I've learned a lot about myself I like, and a lot I don't like and need to work on. It's been UP and it's been DOWN, but thankfully mainly UP. I can without a doubt say this has been the best year of my entire life. The joy Ava brings into our family can't be spoken. I can't wait to see what 2014 brings for my little family. But before that all happens, we have to party away 2013!
I'm sharing a cute treat for New Year's Eve.
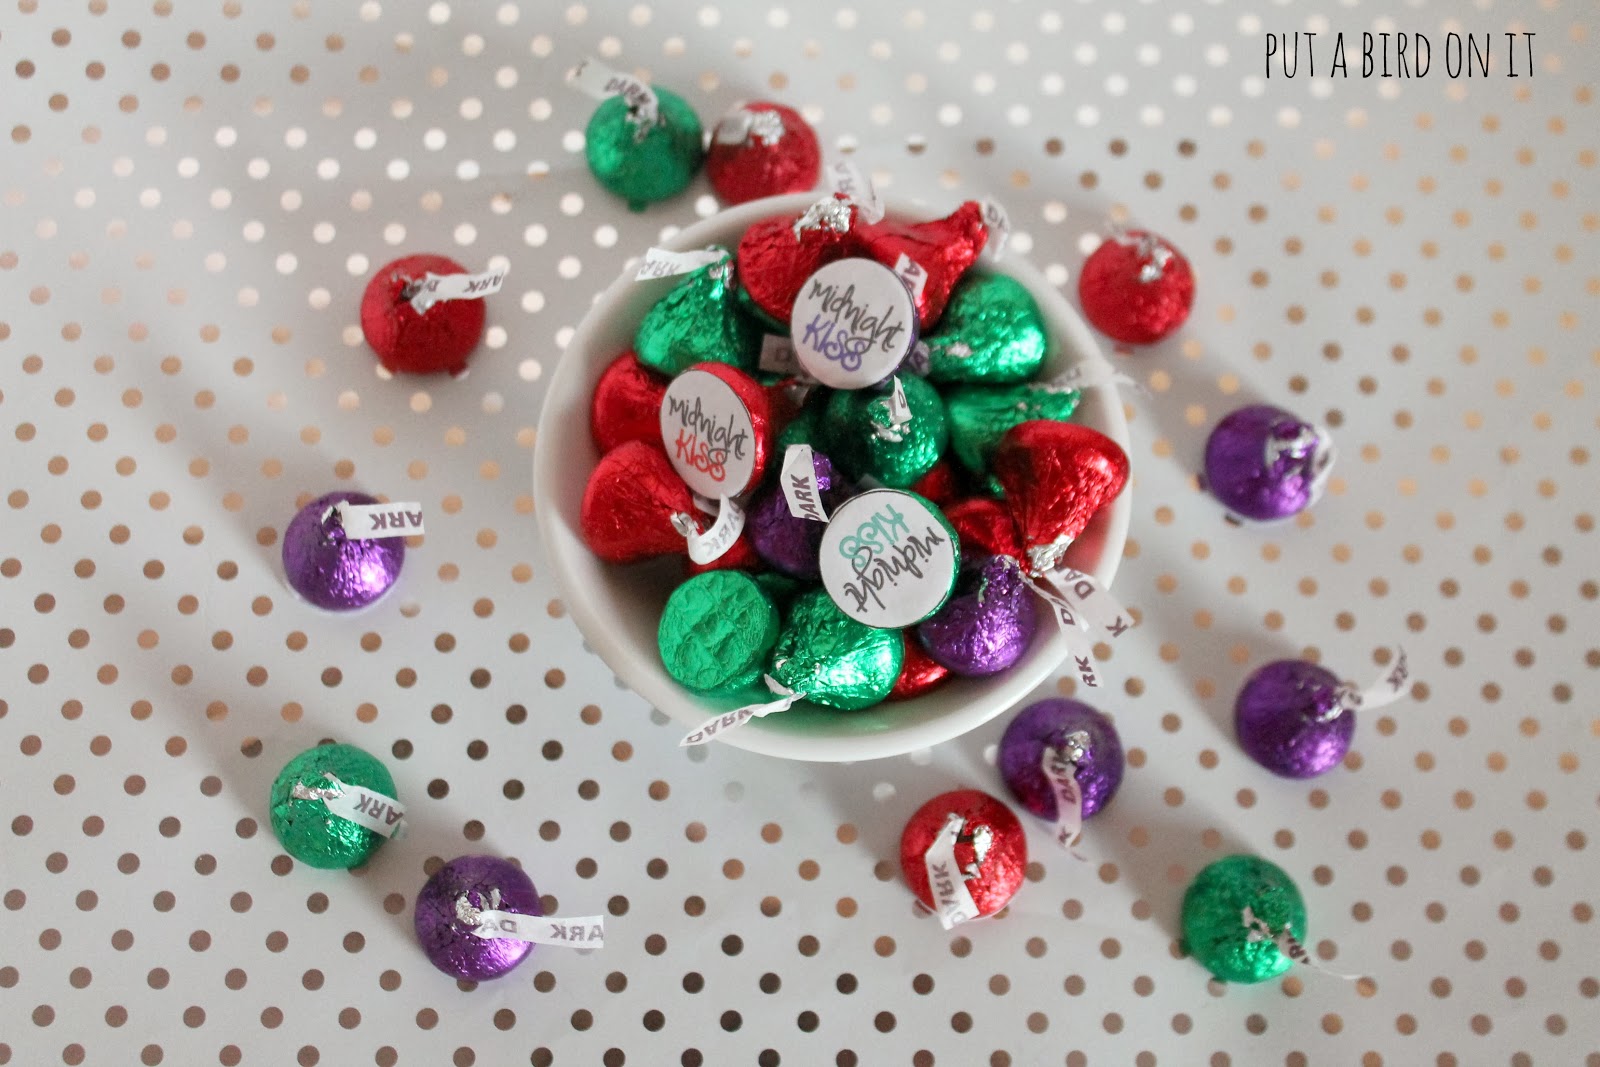
MIDNIGHT KISSES. Two of my favorite things: chocolate + kisses. This simple New Year's treat would make the perfect addition to your party spread or how about package it up cute and give it to someone you love? I'm using it both ways, because I just can't get enough. I made one version of Midnight Kisses to give to my husband as a New Year's gift. I cut out circles from printer paper (0.88" round), wrote reasons why I love him on the circles, then glued them onto the bottom of several kisses. It was SO easy. Just make sure you right on the circles before you glue them on! You could also use the circle stickers found in the office supply section, but I just wanted to use what I had on hand {paper, scissors and a glue stick!}. I then put them in a cute polka dot treat box I got from Target for $1. It was a simple and yummy way to give my love a few extra midnight kisses.
The second way I used them was in a treat dish! I made a Midnight Kiss circle dot in various colors to attach the same way. You could even make a cute placecard that says "Midnight Kisses" for your treat table. This is a easy, quick treat, if you need something last minute for New Year's Eve tonight! I've included the downloads for the blank dots and the color dots below!
Enjoy your Midnight Kisses!
**Here are some more last minute ideas for NYE**
Free Printable by Glued to My Crafts Blog
Free Printable by Bull City Studio
Free Printable by Glued to My Crafts Blog
Free Printable by Bull City Studio
HAVE A GREAT NIGHT! SEE YOU NEXT YEAR!
*****************************************************
You might also like:
Labels:
gift ideas,
NYE,
party ideas,
prints
Wednesday, December 18, 2013
Wednesday Roundup ... Christmas Gift Tags |
Welcome to Wednesday Roundup! Where I put together a list of my favorite somethings.
This week's something is: Christmas gift tags. I've been wrapping Christmas gifts and that's what got me searching for an adorable, festive tag to go on my presents. These are just some of my favorites. Hope you find something you like.
All these are FREE printables. If you use any, be sure to comment on their blog saying thank you and tell them who sent you.
Do you have a favorite set of printable Christmas tags? Leave a comment with the link. I'd love to see and share.
************************************************************
Before you go, enter this week's giveaway:
Labels:
Christmas,
features,
free stuff,
gift ideas,
Wednesday Roundup
Subscribe to:
Posts (Atom)


.jpg)