


Supplies:
- Coffee Filters - I used 40 total for a 5.5 garland
- Red, yellow, blue, green, and purple food coloring
- 24 gauge floral wire
- scissors
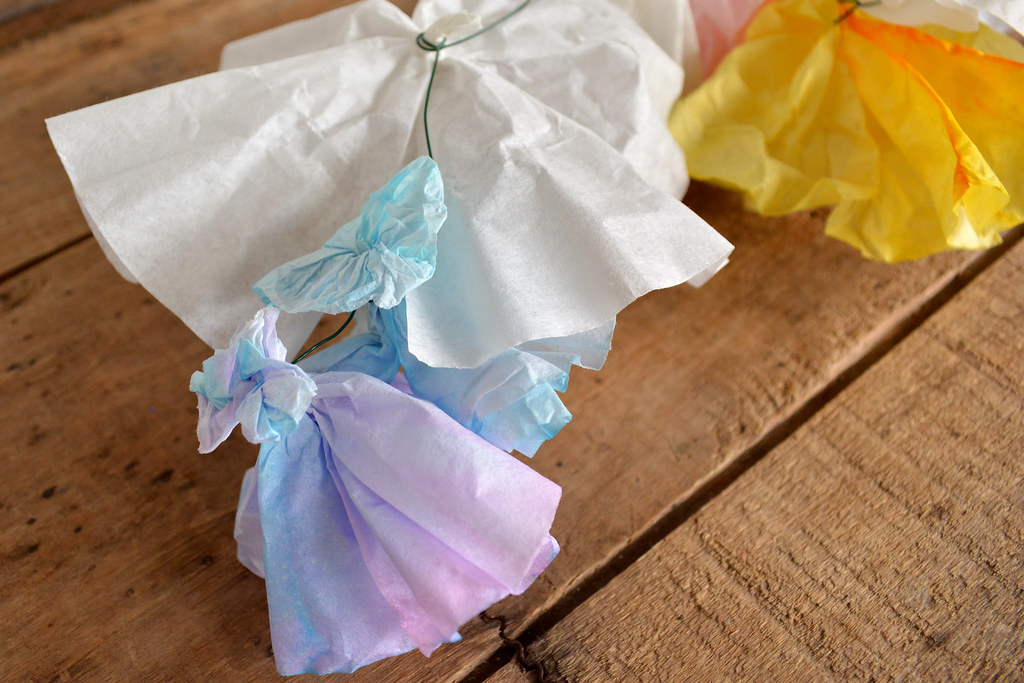
- Lime Green: A few drops of green food coloring and one drop of yellow.
- Pink: Two or three drops of red food coloring.
- Light Blue: Just a few drops of blue food coloring.
- Purple: I actually used purple food coloring. It was a little jar of gel - I dipped my finger in a couple times and then stirred it into the water. You should be able to find purple at Joann's or Walmart. (Trying to mix red and blue to make purple doesn't really work! I'd definitely recommend buying some purple instead!)
- Yellow: A couple squeezes of yellow - I felt like I was really using a lot, but you don't get a nice, sunny yellow unless you do!
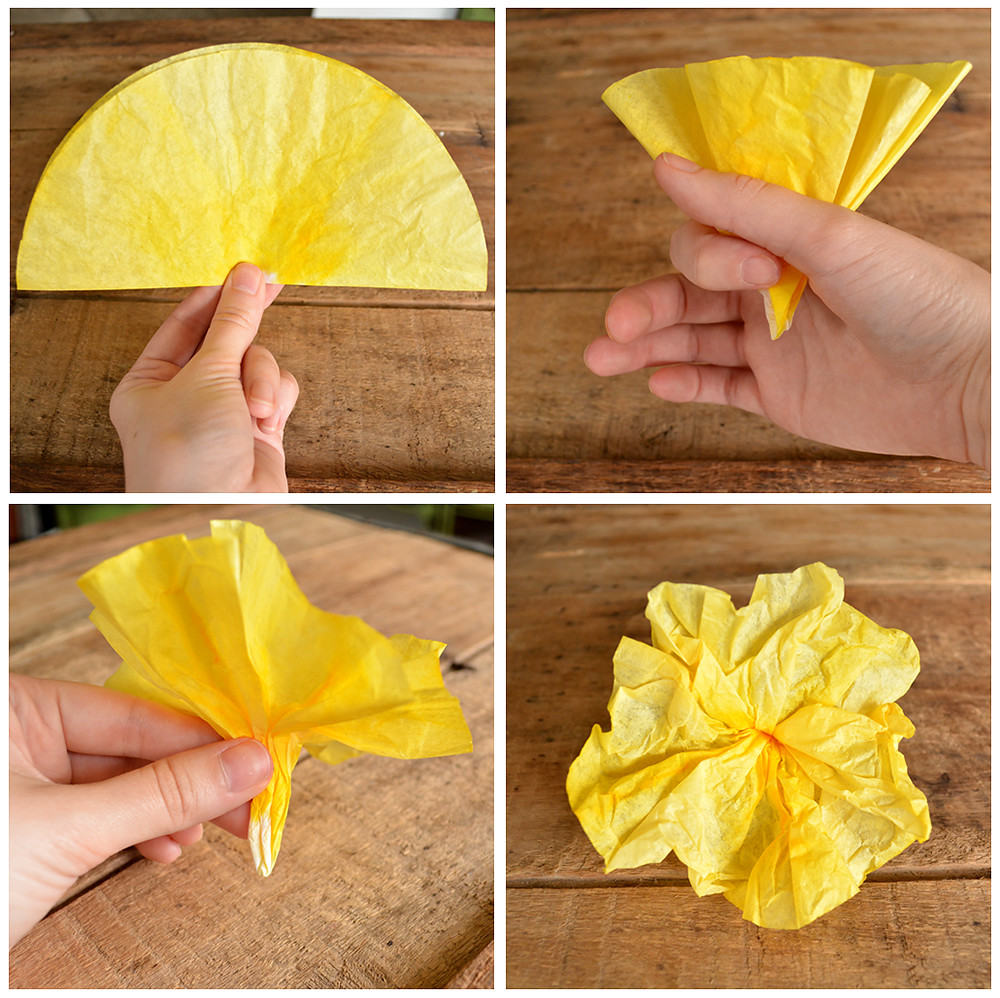
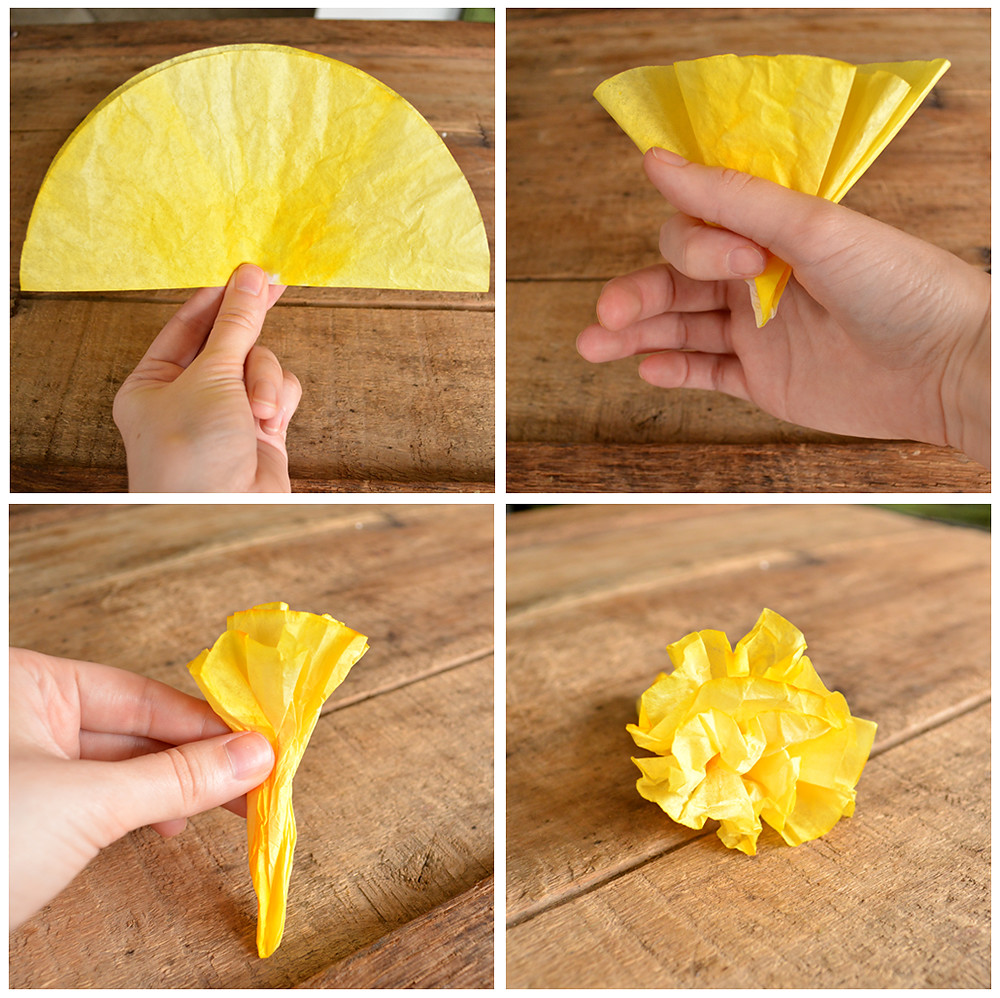
#1 - The Flat Pinwheel

- Fold your coffee filter in half, and grasp it in the middle between your thumb and fingers.
- Wrap the thumb and forefinger of your other hand around the base of the filter (you should be holding the coffee filter with both hands at this point, but I had to use one hand to take the photo!)
- Tighten your thumb and forefinger, and pull the coffee filter down through them.
- Still pinching the bottom tip of the coffee filter, pull the edges out and down into a circle.
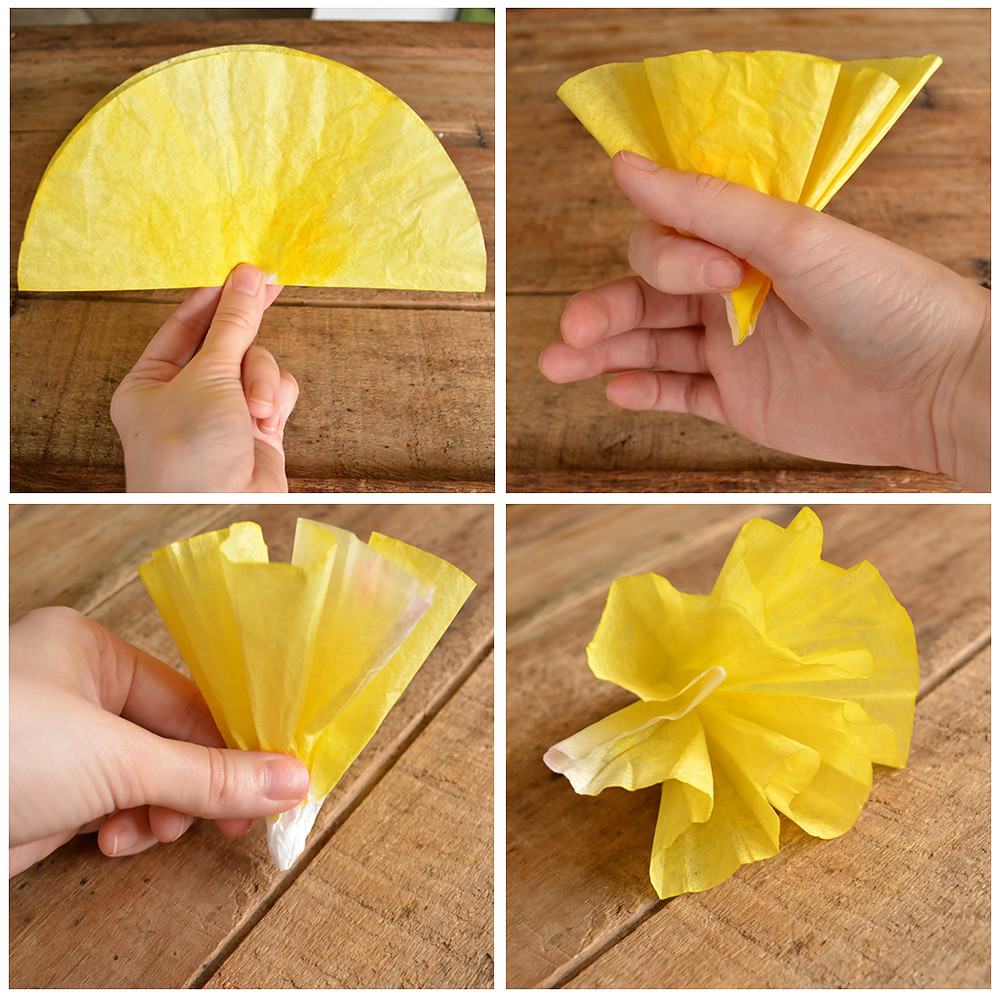
- Same as pinwheel flower.
- Same as pinwheel flower
- Pinch about halfway up the base of the flower, and fold the edges down and out.
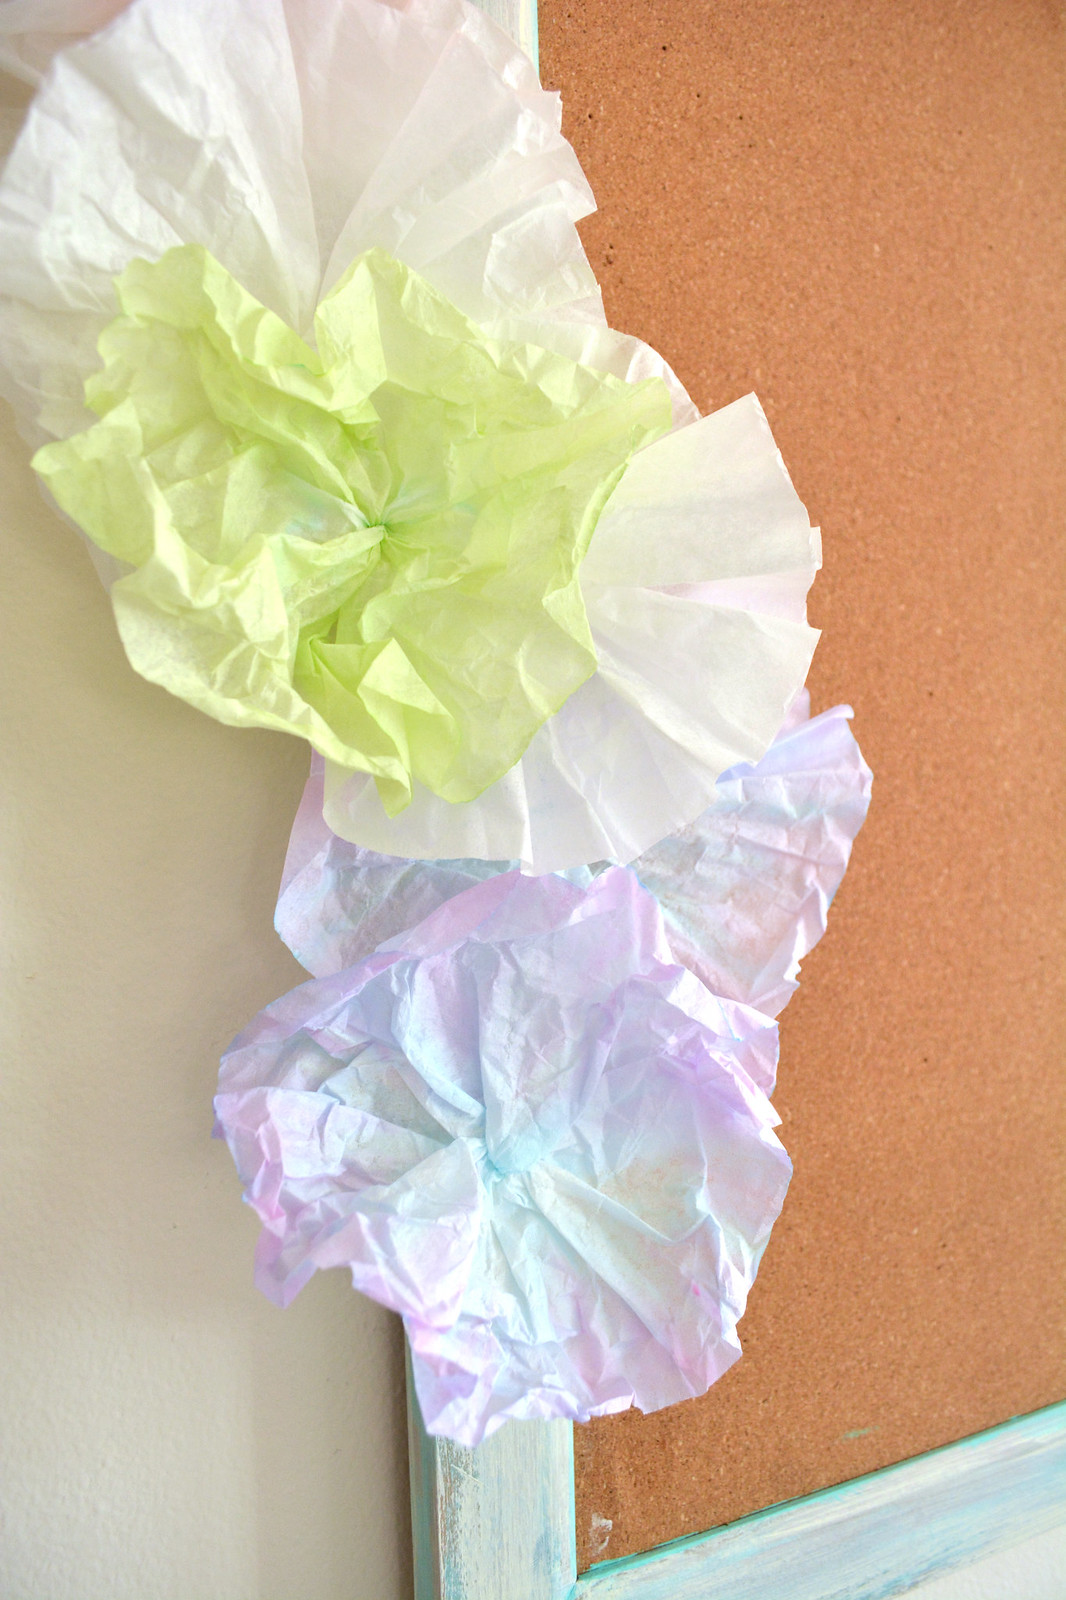
- Crumple and scrunch the edges of the pinwheel to give it more texture. You can scrunch the whole top up in your hand and then gently push the edges back down. Don't push or pull the edges too hard after scrunching - you don't want to loose all that pretty texture.
- Same as pinwheel flower
- Same as pinwheel flower
- Grab about 3/4 of the way up the base of the flower
- Scrunch the top, the fold and pull out just a little bit to create that ruffly carnation look
- Same as pinwheel flower.
- Same as pinwheel flower, but don't squeeze your thumb and forefinger into quite as tight of a circle.
- Pull the coffee filter through your fingers very gently. You want to be creating a shape similar to the one shown in step 3 of the pinwheel flower, but you want it to be much looser.
- Grip just a little ways up the base (as you can see in the third picture) and gently pull and run your fingers along the creases to smooth out the flower.

- Cut a straight line in your coffee filter, from the edge to about the middle
- Begin rolling one edge of the cut onto itself. You want to roll tighter at the bottom and looser at the top.
- Once your tube is started, pinch at the bottom and continue wrapping/rolling the coffee around itself.
- Keep rolling/wrapping your flower, always pinching it more tightly together at the bottom and letting the top edge roll loosely.
- Finish rolling and pinch your rose tightly at the bottom.
- Reach into the center and use your finger to curl the beginning a little bit tighter. Scrunch and pinch the top of the rose to give it some texture!

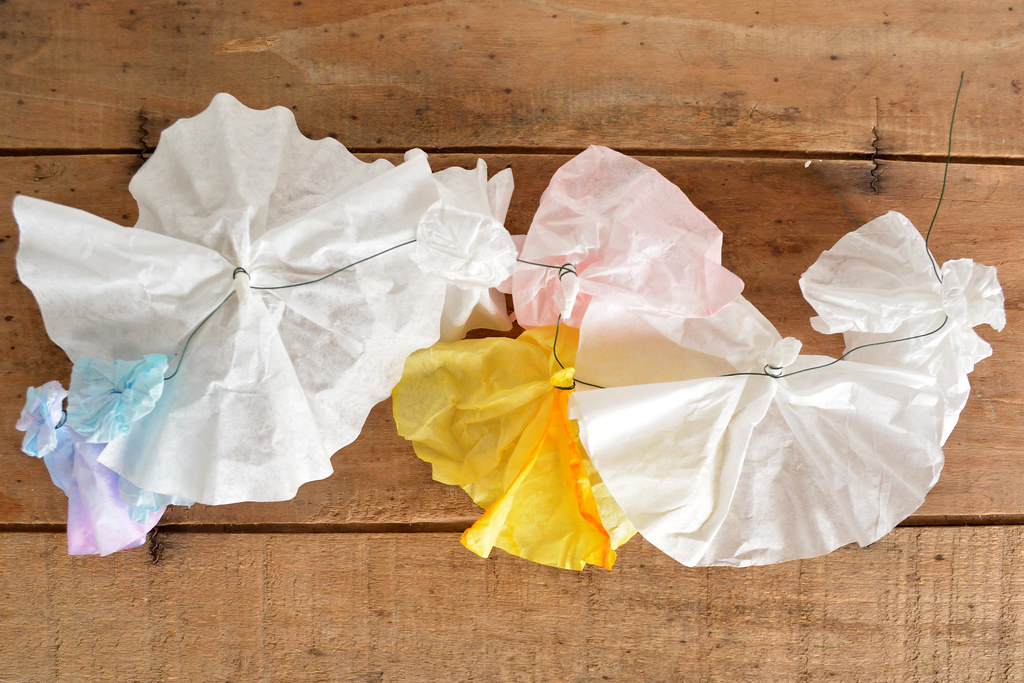
- It's easier to work with small sections of wire and flowers. I made 5 "mini garlands" and then connected them into one big piece
- You only need to wrap the wire around each flower once or twice
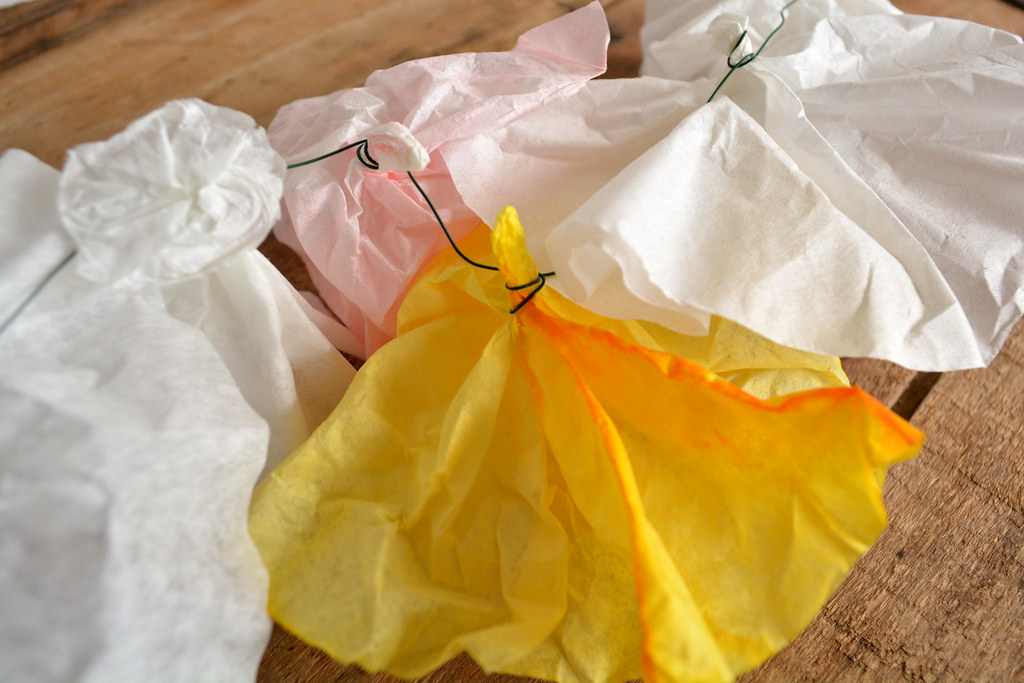
- For flowers like carnations, which have longer "stems" on the back side of the garland, you can snip off the excess filter and then flatten the leftover to help the flowers lay close to the wall
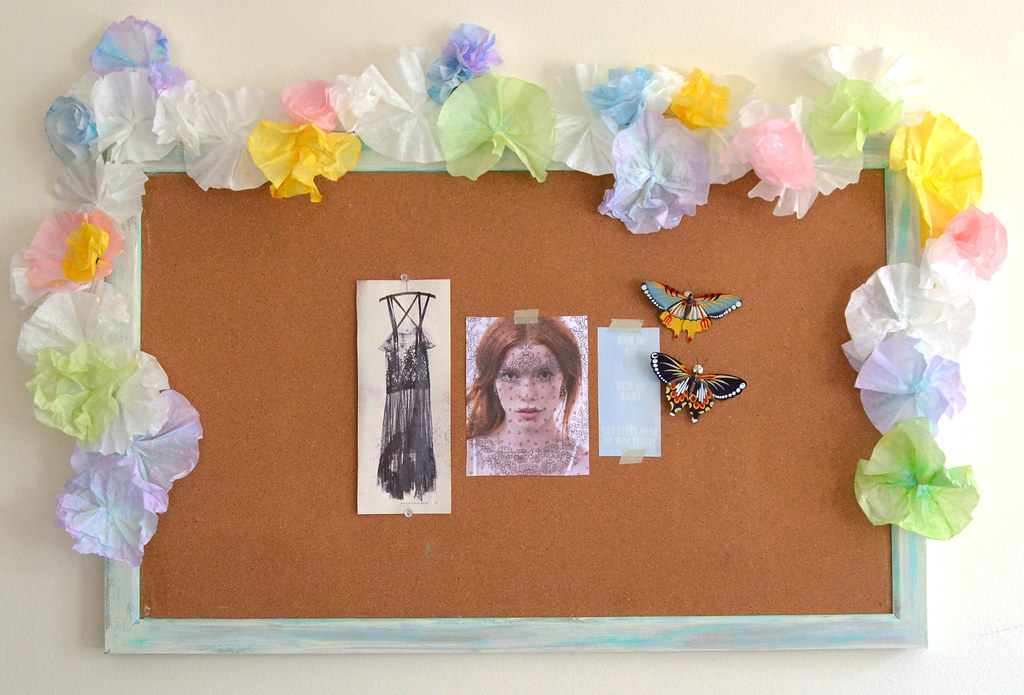
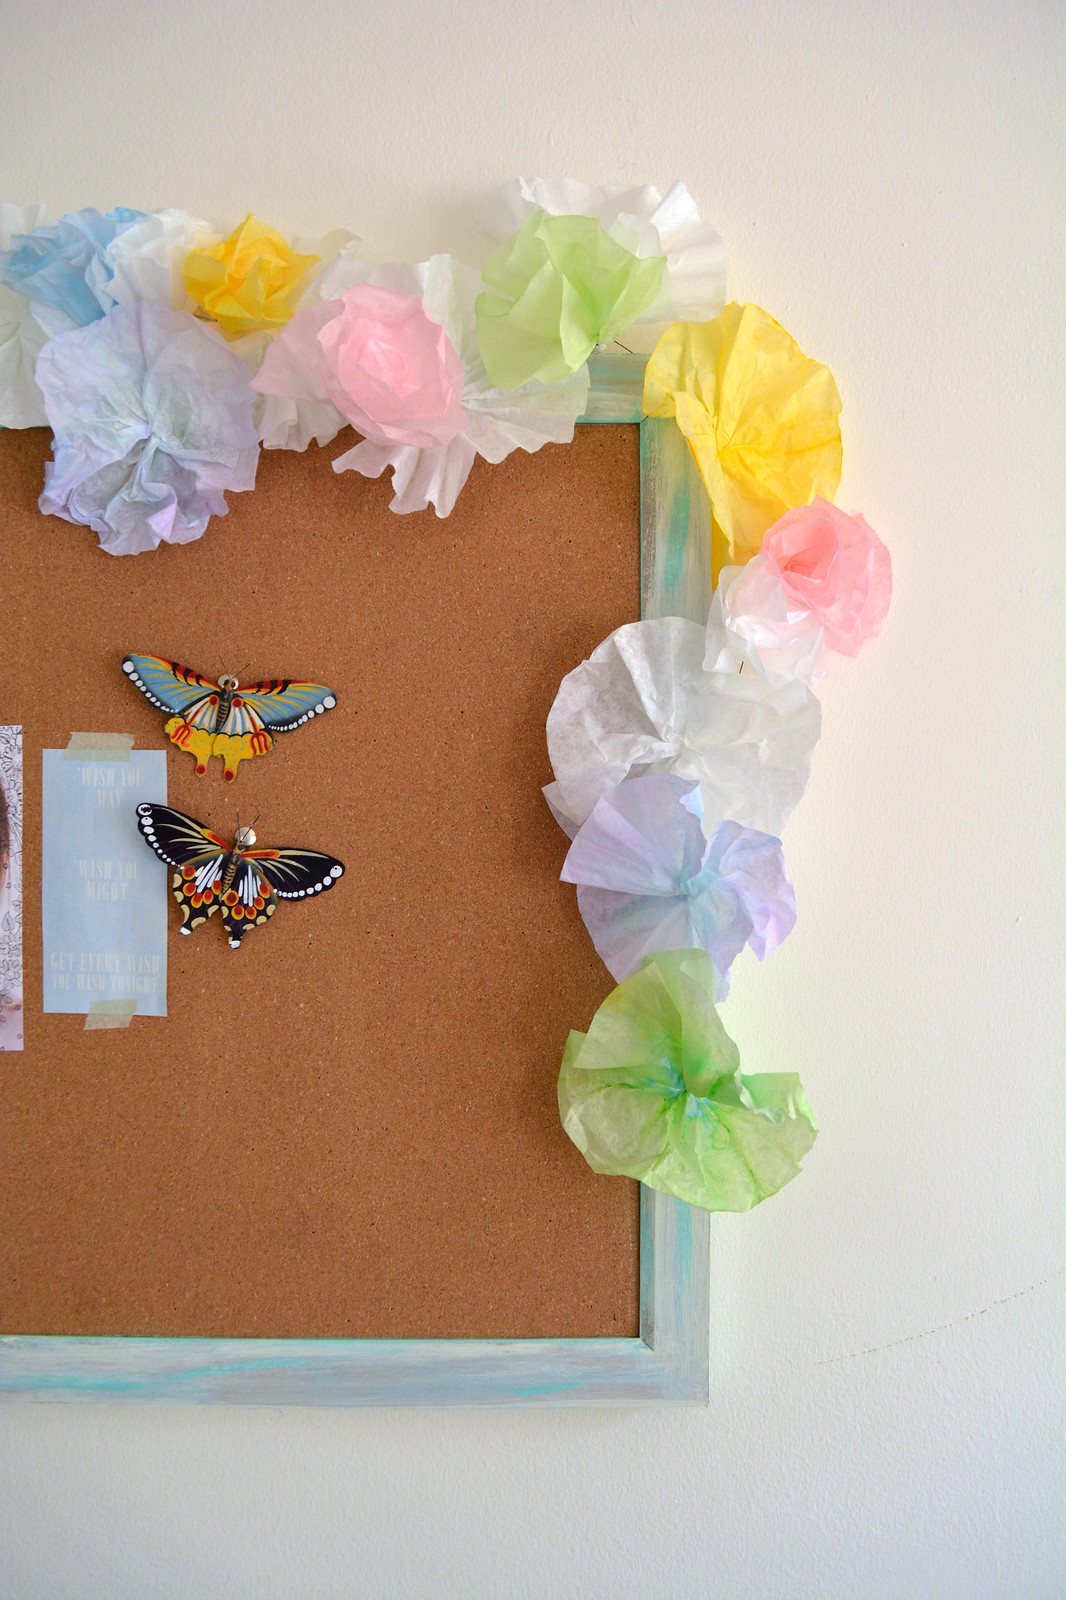
- My garland was 5.5 feet long when finished. I used 39 coffee filters: 18 white, 6 purple, 4 each of green, pink, and yellow, and 3 blue.
- I used the flat pinwheel shape the most, followed by the scrunch pinwheel. Then I threw in a few carnations, loose carnations and roses.
********************************
You guys - how insanely talented is Laura?! I love this garland. You could do any color and use it for any occasion. The "loose carnation" one is my favorite!! Definitely head to Laura's blog, Lovely Wren, to follow her for more great ideas.
Since this is a blog swap, I'm over at Lovely Wren today sharing a recipe for a super YUMMY lip scrub! Only 4 ingredients and here's a little sneak peek...

Don't forget to link up YOUR fab blog posts at Link'n Blogs! All links are seen on all 5 blogs that host the party. Link up > HERE <
Have a great weekend, everyone!
xo


Thanks so much for having me Daniela!
ReplyDeleteYay for blog swaps! xo
ReplyDelete