photo PABOI2.jpg

Weekly Digest

 photo PAGEShome1.jpg  photo PAGESlinkparty1.jpg  photo PAGESfeatured1.jpg  photo PAGESsponsor1.jpg  photo PAGESguestposts1.jpg

Search This Blog

Monday, June 2, 2014

Shadow Box Frame Makeover

Hello friends! Happy Monday! I hope everyone's weekend was amazing. We spent a lot of time with family, took Ava on her first pony ride {she LOVED IT!} and the best part? We found a home! A home we want to buy! And live in forever! It is amazing, and I had that "this is the one!" feeling while walking through it. I cried when we walked out to the backyard, because it felt like our home. We've just gone through so many homes that weren't going to work out and lost a couple from offers not working out, too, so going through this one was just the best experience. Cross your fingers they accept our offer!

Today, I've got a home decor DIY that would go great in a new home, an old home, an apartment and everything in-between! I originally shared this post on Belle of the Kitchen. At Target {of course} I found some discounted shadow box frames. The one in the picture below is super similar to the ones I bought, except the inside part was NEON YELLOW. Not that I don't love me some neon, but it wouldn't work with my home's color scheme. I decided to buy the frames anyway, since they were so cheap, and do a little burlap makeover to make it an interchangeable picture frame. Read on to see how easy it was!


You only need a few supplies for this fun project: Shadow Box Frame, Burlap {or other fabric of choice}, hot glue gun and a clip of some sort. That's it!

Tip: Craft stores often have great picture frames sales. Get the store's app on your phone for coupons, too!


There are only 3 steps!

Friday, May 30, 2014

DIY Coffee Filter Garland ... Guest Post by Laura of Lovely Wren

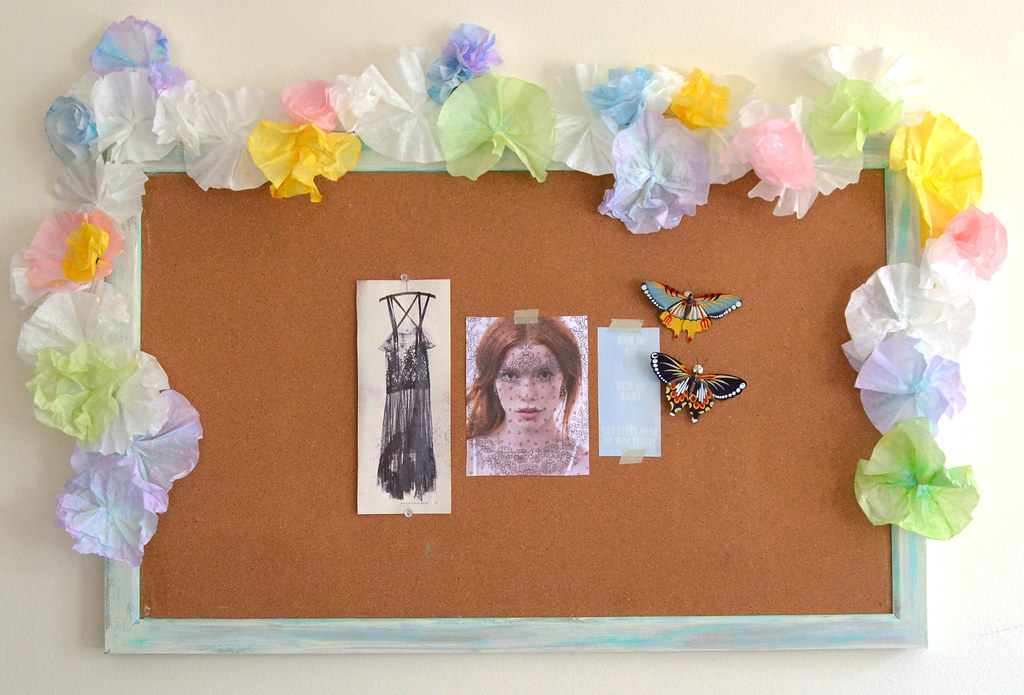
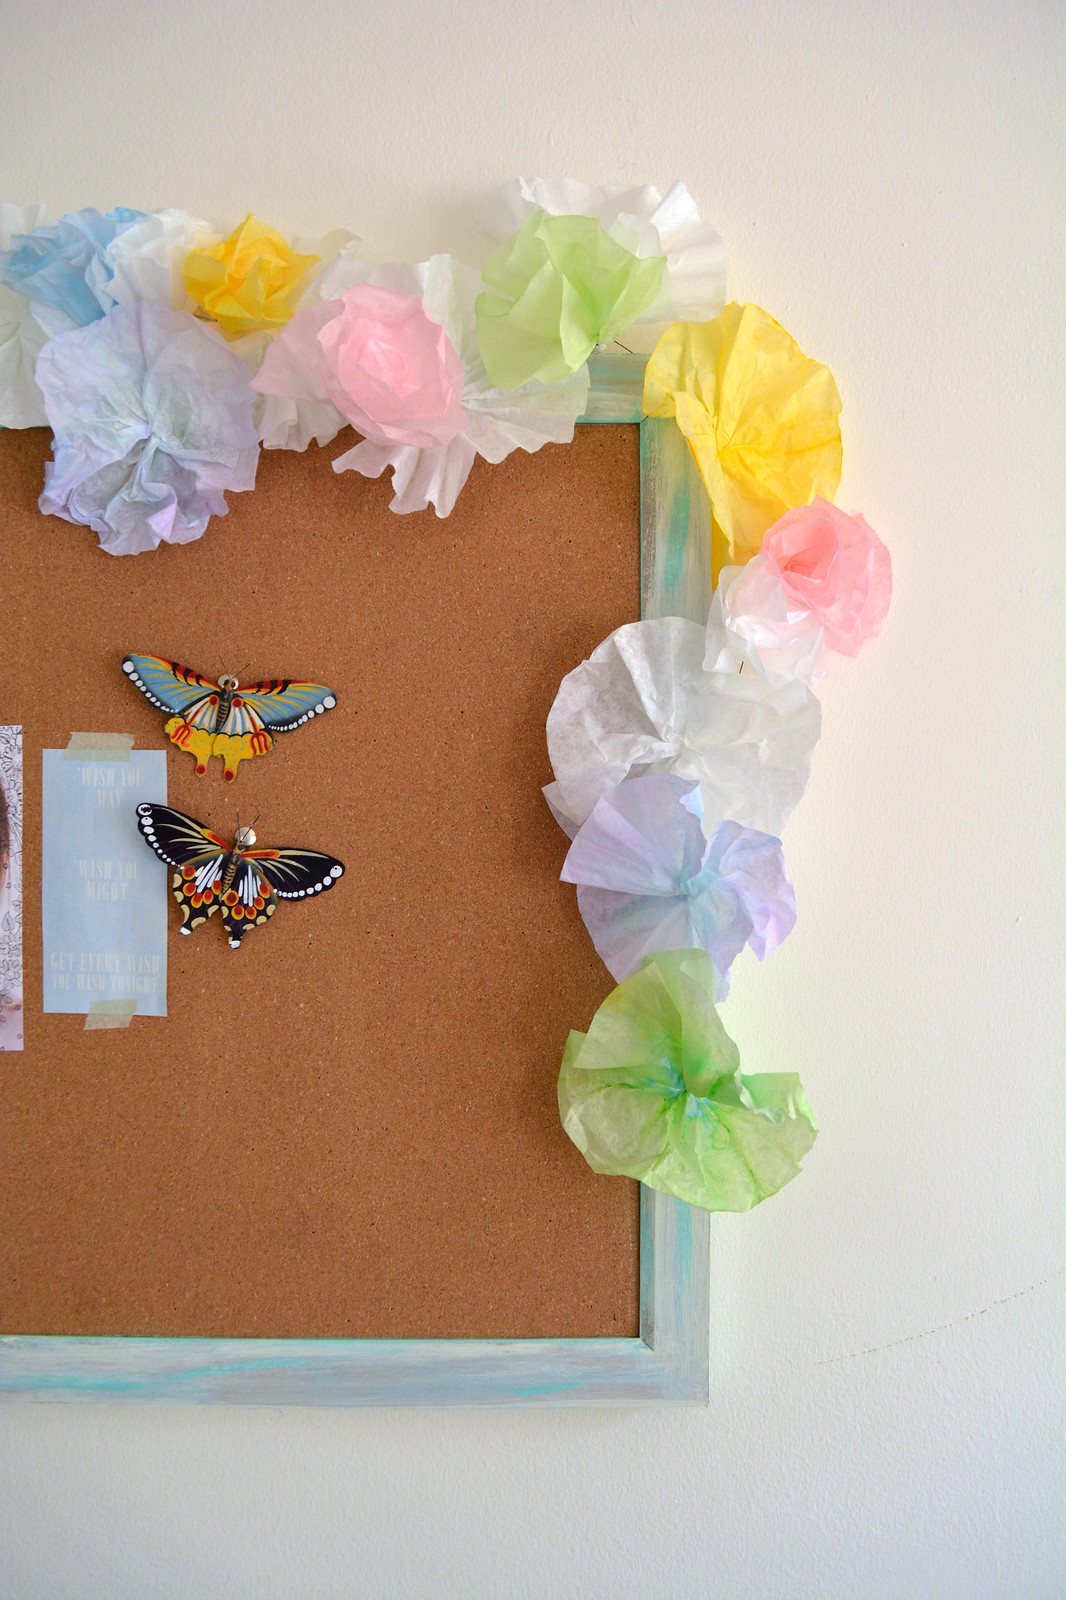
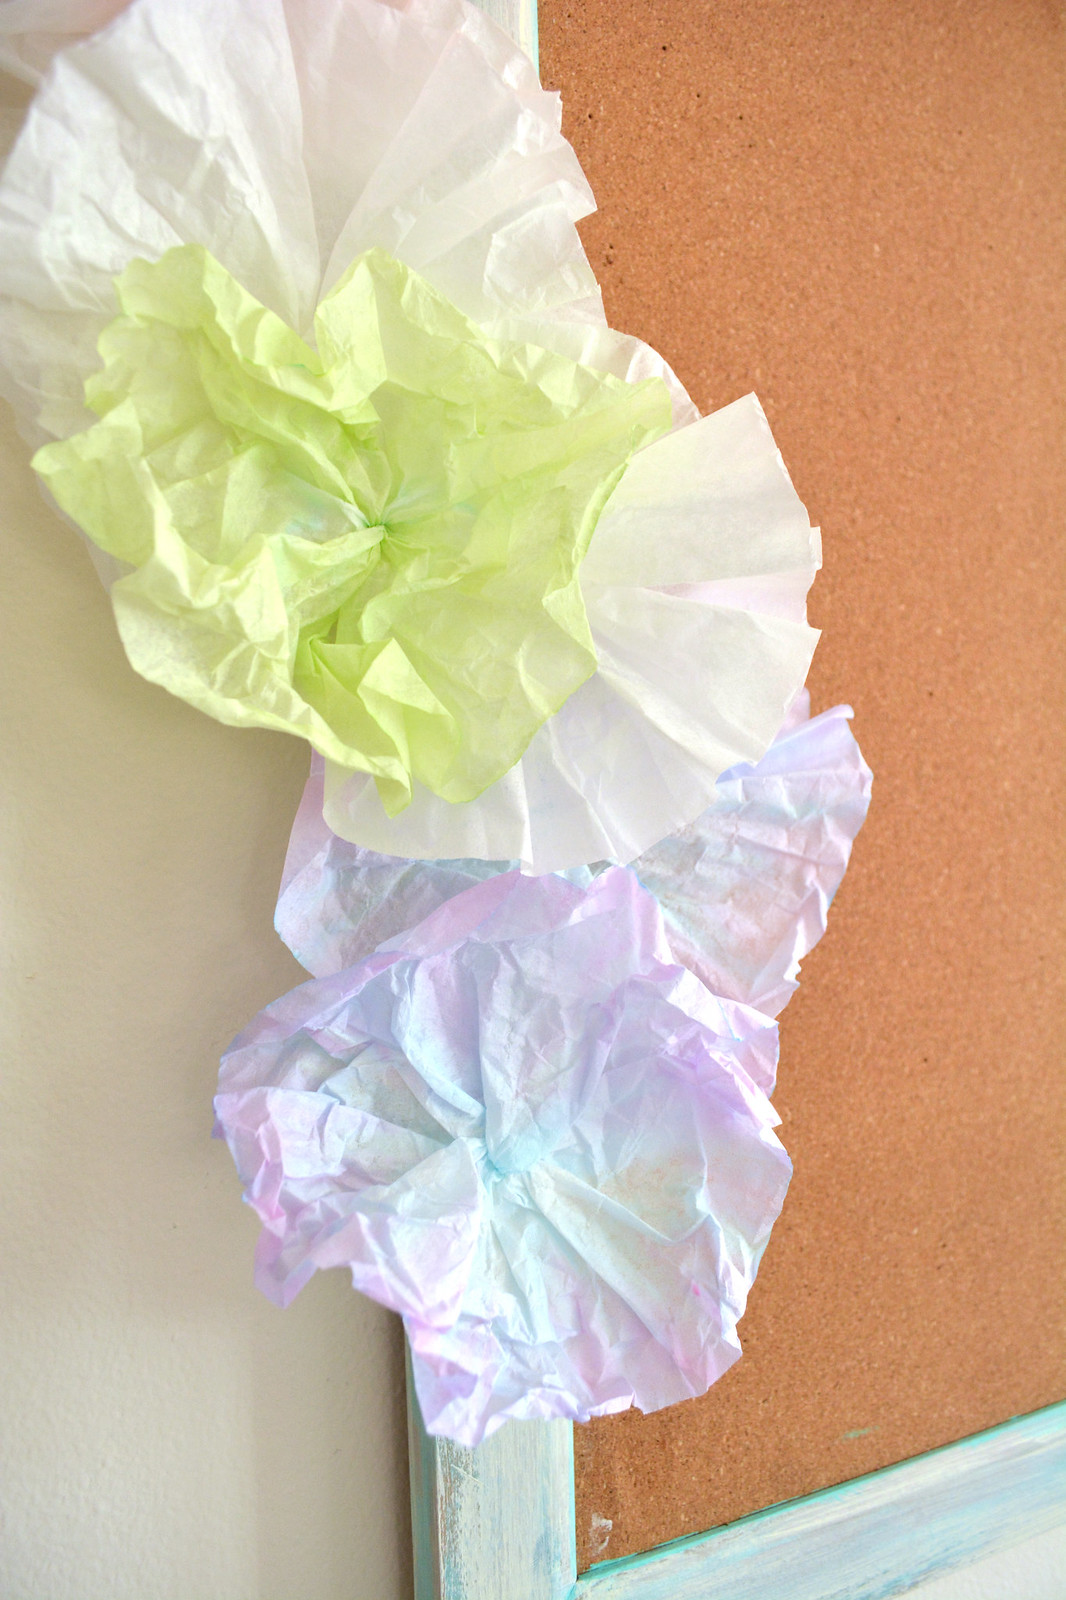
Hi Everyone! My name is Laura, and I blog about knitting, crafting and photography over at Lovely Wren. I've never done a blog swap before, so I'm thrilled to be trying it today for the first time. A big thanks to Daniela for having me :) I've come up with a sweet little DIY coffee filter flower garland to share with you today. It's somewhat time consuming, but easy to do, and gives you beautiful results! I made it to hang over my corkboard and brighten up my apartment, but it would also be great for birthday parties, baby showers, bridal showers, or just about any kind of party! 


Garland

GarlandCloseUp2new

GarlandCloseUp

First I'll talk about dyeing the filters, then I'll show you how to make the different styles of flowers I used, and finally I'll tell you how to the garland together. Ready? Let's dive in! 

Wednesday, May 28, 2014

Link'n Blogs #27


Welcome to Link'n Blogs {#27} !
A place to link up your projects and make new friends. We are all about visiting links and following new bloggers here at Link'n Blogs. Remember to leave comments and PIN PIN PIN!
Cause sharing is caring. 

**Your links will show up on ALL blogs hosting the link party!**

Interested in guest hosting Link'n Blogs?!
I've created a spreadsheet where you can sign up to host a link party! It's a great way to get to know other bloggers, share a recent post with other party goers and pick the features. Sign up using the link below!

Grab my party button! 


*Feel free to post my party button on your blog and say you linked up here!*


I am sharing a tutorial for Silhouette Stencil Material. I'm kind of obsessed with cutting reusable stencils now!


My Review of Silhouette Stencil Material


CO-HOST:

Katelyn from Learning, Creating, Living


Katelyn is sharing an awesome concrete DIY. These planters are so stylish! I love how Katelyn styled them on her windowsill {photo on her blog post!}.


CO-HOST:


Sonnet is sharing a hilarious office supply makeover using her Silhouette Cameo. I died laughing - what a fun way to lighten up the work day! {get the FREE cut files on her blog!}


GUEST HOSTS:


Jenn is sharing some great tips for arranging planters in your yard.


Kristi is back to share a super cool clock she made using rustic plank wood. I love it!


Here are this week's features:

My Review of Silhouette Stencil Material *spoiler alert: it's amazing!*

Hi everyone! Sorry I've been a little MIA lately...we are still living at my dad's and YEP my craft box is STILL packed up.  :(  BUT - I'll try really hard to make it up to you with lots of fun crafts when I get my own house with my own craft room (hopefully!). We put in an offer on a home today, but the house is already under contract, so we are just a backup offer. We probably won't get it, so we are continuing to look...hoping we find that one special home soon!

Today, I've got a Silhouette tutorial for you. I originally guest posted this on Get Silvered and am excited to share it with you guys now! For those of you who don't know, I own the Silhouette Cameo and L-O-V-E it. I use it for almost every craft I make.  One in particular is the Maternity Countdown Shirt that I sell {SHOP}. I make each shirt by hand and would cut out a stencil for the numbers each and every time. It was kind of time consuming and used up a lot of vinyl per shirt. Just a couple months ago, I found out that Silhouette sells a -- you ready for this? -- REUSABLE STENCIL MATERIAL!!!!!! I pretty much freaked out and immediately bought some to try out. Well, it's AMAZING! It's basically a thin plastic that I use over and over and over again. I make so many shirts with one stencil - it saves me SO much time and money. This post is all about my review and a tutorial for cutting and using it!


The Stencil Material comes in a tube. This is great for storing, but not totally great for the stencil material itself. Mine had a few bubbles (you can see in pic below) which made me think at first that the cutting part did not cut all the way through. I was happy to see when I unloaded it that it did cut perfectly - I just had to pull the stencil off the paper backing carefully to make sure it came off along the cut lines in a couple of places. {addition: since I wrote this review, I've purchased more stencil material, and it didn't bubble. Maybe it was just my first try...!}

Friday, May 23, 2014

Super Easy Oreo Balls Recipe .. Guest Post by Mary of Eat Drink & Be Mary

Hey y'all. I'm so excited to be taking over for Daniela today.  I'm Mary the girl behind the blog Eat Drink & Be Mary.  The place where I share the "looks" that have shaped my life, how I struggle with patience, and of course recipes I have tried and LOVE.  But enough about me, and more about what I'm super excited to share with y'all today.


Have you ever been told to bring a dessert to a party but didn't know what to bring?  Are you in love with party foods that are portion-sized and don't need any utensils or plates?  Do you love no-bake recipes?  Then I'm your girl, and I've got the recipe for you. 


Super EASY, No-Bake Oreo Balls.  A recipe with three ingredients, no baking, & you end up with the YUMMIEST, bite sized party food your friends are family will love.  Seriously these are addicting, I dare you to eat one and NOT stuff your face with two or ten three more.  

Wednesday, May 21, 2014

Link'n Blogs #26


Welcome to Link'n Blogs {#26} !
A place to link up your projects and make new friends. We are all about visiting links and following new bloggers here at Link'n Blogs. Remember to leave comments and PIN PIN PIN!
Cause sharing is caring. 

**Your links will show up on ALL blogs hosting the link party!**

Interested in guest hosting Link'n Blogs?!
I've created a spreadsheet where you can sign up to host a link party! It's a great way to get to know other bloggers, share a recent post with other party goers and pick the features. Sign up using the link below!

Grab my party button! 


*Feel free to post my party button on your blog and say you linked up here!*


I am sharing the BEST pasta salad recipe I've ever tried. It is so easy and so good. Click through to see the secret ingredient!


The Best Italian Pasta Salad Ever


CO-HOST:

Katelyn from Learning, Creating, Living


Katelyn is sharing another fab DIY project. A rustic wooden tray that looks easy enough for even someone like me to do!


CO-HOST:


Sonnet is sharing a gorgeous burlap & lace label printable and a recipe for a sugar scrub that looks so yummy - I could just eat it!


GUEST HOSTS:


Heather is sharing an adorable mason jar project. I just love this look!


Kristi is back to share a DIY project I am totally swooning over. Visit her blog to see how she made this paint dipped end table!


Here are this week's features:

Monday, May 19, 2014

The Best Italian Pasta Salad Ever!

M is for Monday - which today is. M is also for Mmmmmmmmmmmmm - which is the first word that comes to mind when I think of this recipe. For Mother's Day last week, I was in charge of bringing a side dish. I immediately knew I needed (yes - needed) to make a pasta salad. But not just any ol' pasta salad- the best italian pasta salad EVER! 


This pasta salad is more than just pasta & italian dressing - the secret is caesar dressing added in, too. It makes it creamy and light and ooooooh just amazing. It is also soooooo easy to make (especially if you get a cute boy that is conveniently married to you to chop your veggies). You basically just cook the pasta, mix in all the other ingredients and chill. That's it!
Blog Design By Brand Me Beautiful